フィクスチャタイプの挿入
| grandMA3 ユーザマニュアル » フィクスチャタイプ » フィクスチャタイプの構築 » フィクスチャタイプの挿入 | Version 2.2 |
以下のトピックでは、基本的なムービングヘッドのフィクスチャタイプを構築するためのステップバイステップ・ガイドを示します。
まず、フィクスチャタイプを挿入する必要があります。
|
|
重要 |
|
設定を行ったら必ず保存してください。保存していない設定は失われます。 フィクスチャタイプの構築中/構築後にデータをバックアップするには、Fixture Type Editor を抜けて、Fixture Types メニューの Export をタップします。エクスポートされた .xml ファイルは、ショーファイルにインポートできます。 |
- Patch メニューで Fixture Types タブを開きます。Fixture Types タブから抜けるには、フィクスチャタイプのインポート を参照してください。
- Name 列で New Fixture Type をタップします。
- 左下隅にある Insert New Fixture Type をタップします。これで、新しいフィクスチャタイプ行がシートに挿入されます。下の画面例では、FixtureType 14 です。
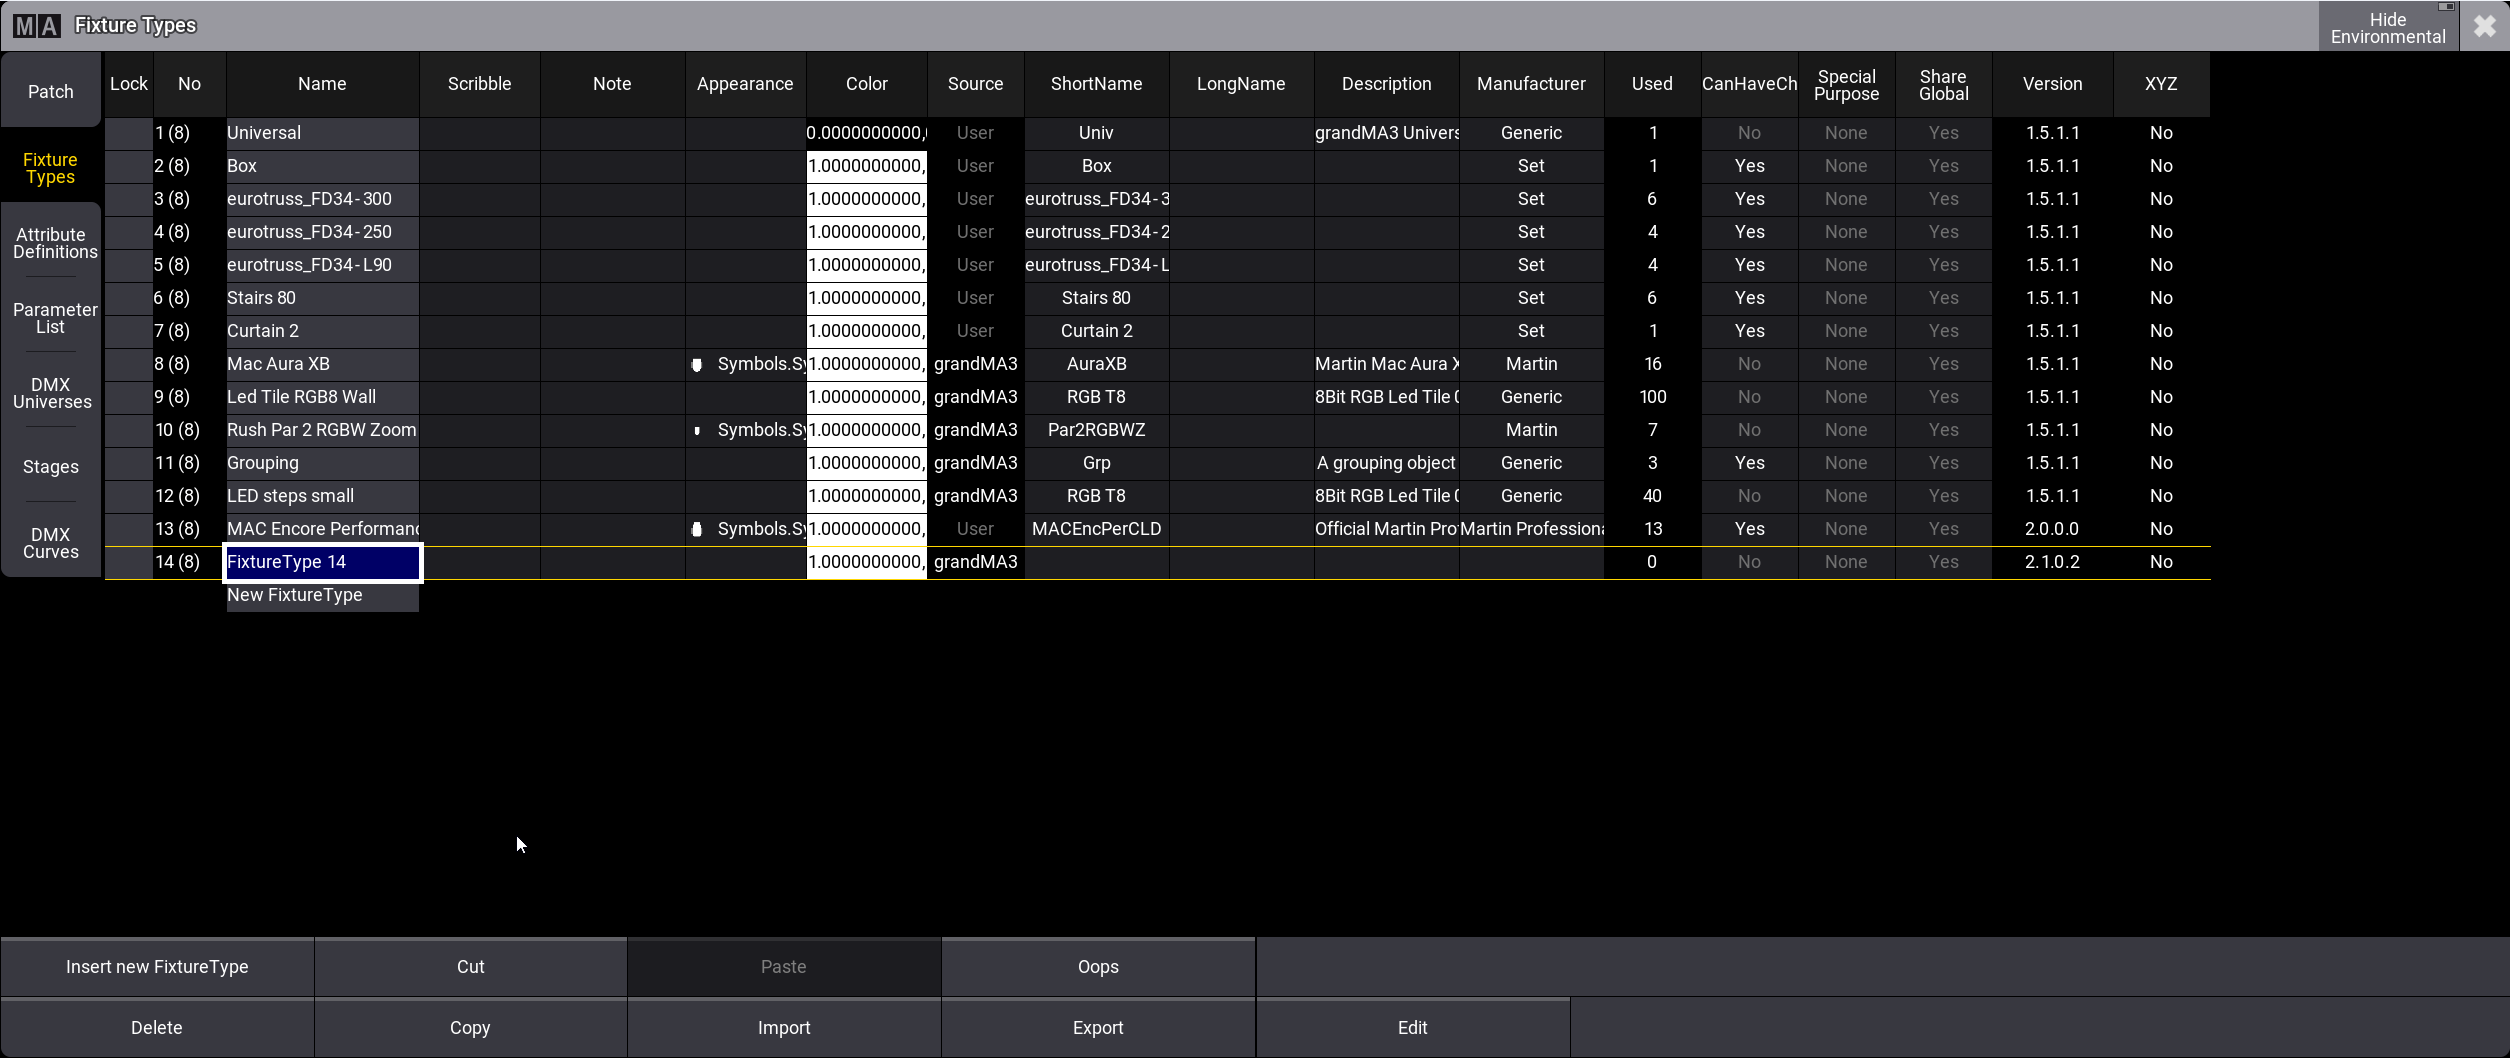
- フィクスチャタイプの基本データを編集するには、以下のセルを右クリックまたは長押しして入力します。
- Name
- Scribble
- Appearance
- ShortName
- Description
- Manufacturer
|
|
ヒント |
| Fixture Types タブの各セルの詳細については、フィクスチャタイプのインポート を参照してください。 |
次のステップでは、フィクスチャタイプに個別のジオメトリを作成します(Insert Geometries を参照)。