MIDIリモート
| grandMA3 ユーザマニュアル » リモート入出力 » MIDIリモート | Version 2.2 |
MIDIは、Musical Instrument Digital Interface の略です。これは、異なるデジタル機器間の通信を可能にする世界標準プロトコルとして使用されています。
例えば、以下のような用途で使われます。
- MIDIキーボードと grandMA3 command wing。
- MIDIパッド・コントローラと grandMA3 卓。
- grandMA3 卓と音響ミキサー卓。
MIDI Remotes タブは、受信したMIDIノートやMIDIコントロール・チェンジ(CC)に対するアクションを指定するために用いられます。
| 制限 | |
| MIDIは、オーディオ信号を送信しません。 |
入力のハードウェア部分については、MIDIの接続 を参照してください。
このトピックは、いくつかの章に分かれています。
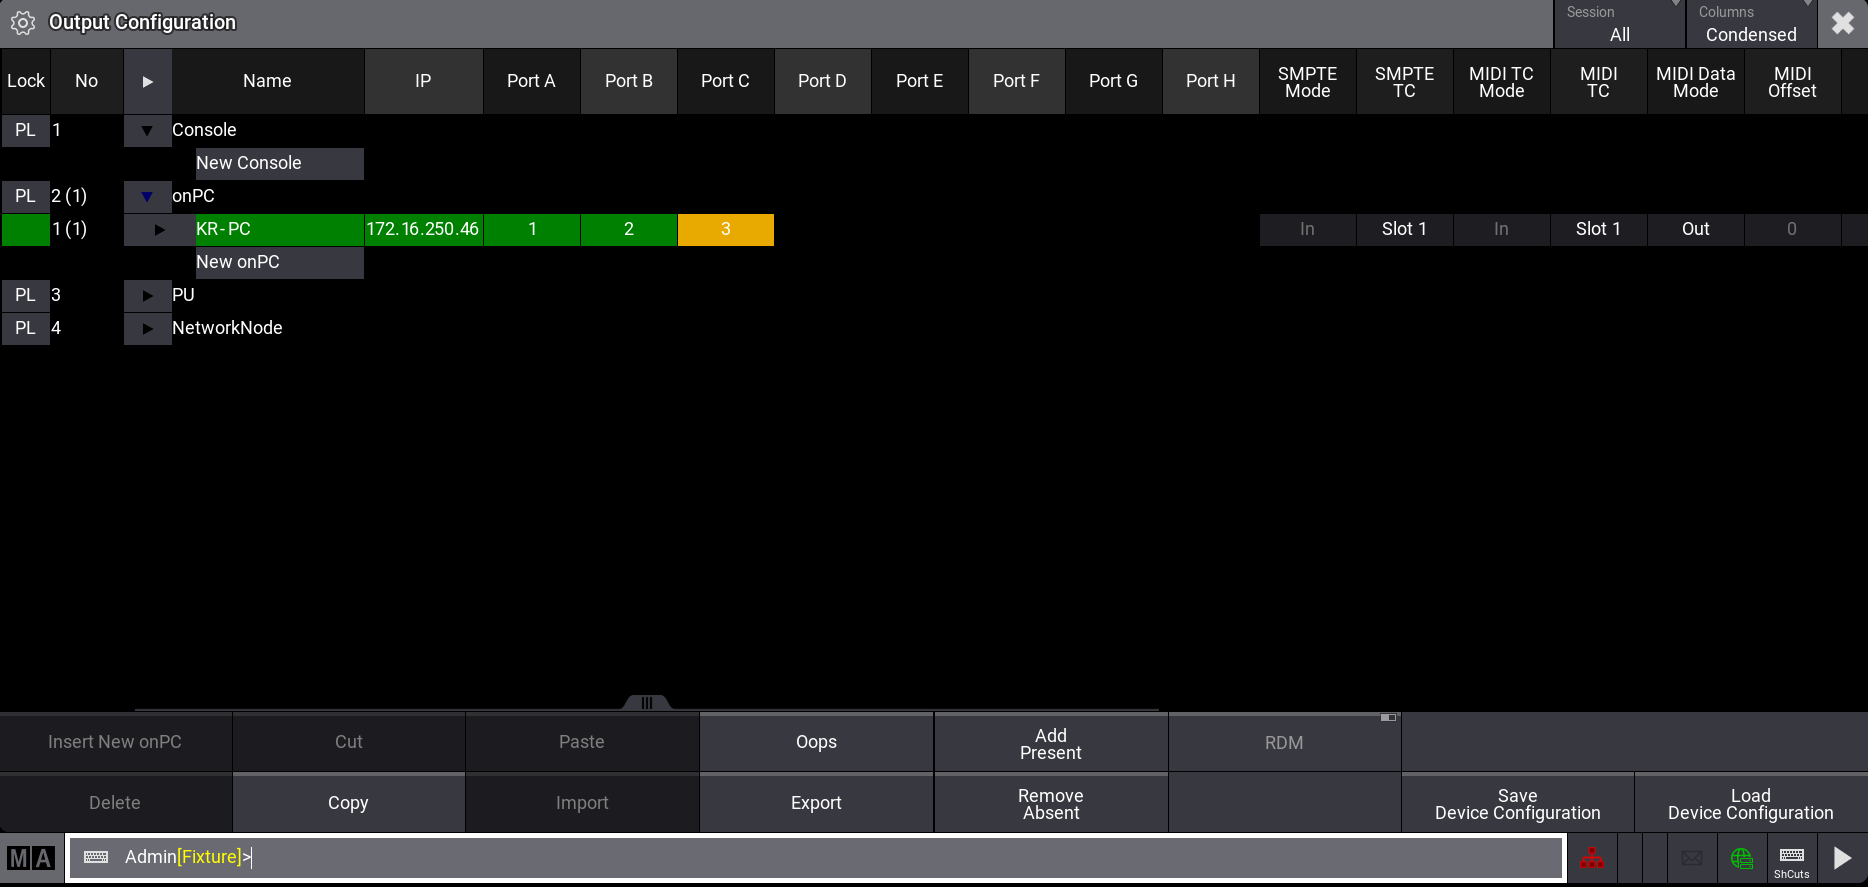
Output Configuration ウィンドウ
MIDI Offset を調整すると、MIDI Index が全体的にシフトします。
MIDI Offset は、Output Configuration ウィンドウで以下のように調整できます。
- MIDI Offset を設定するには、Output Configuration メニューを開きます。
- Output Configuration のカテゴリ・ツリーで矢印(
 )によって製品を開きます。
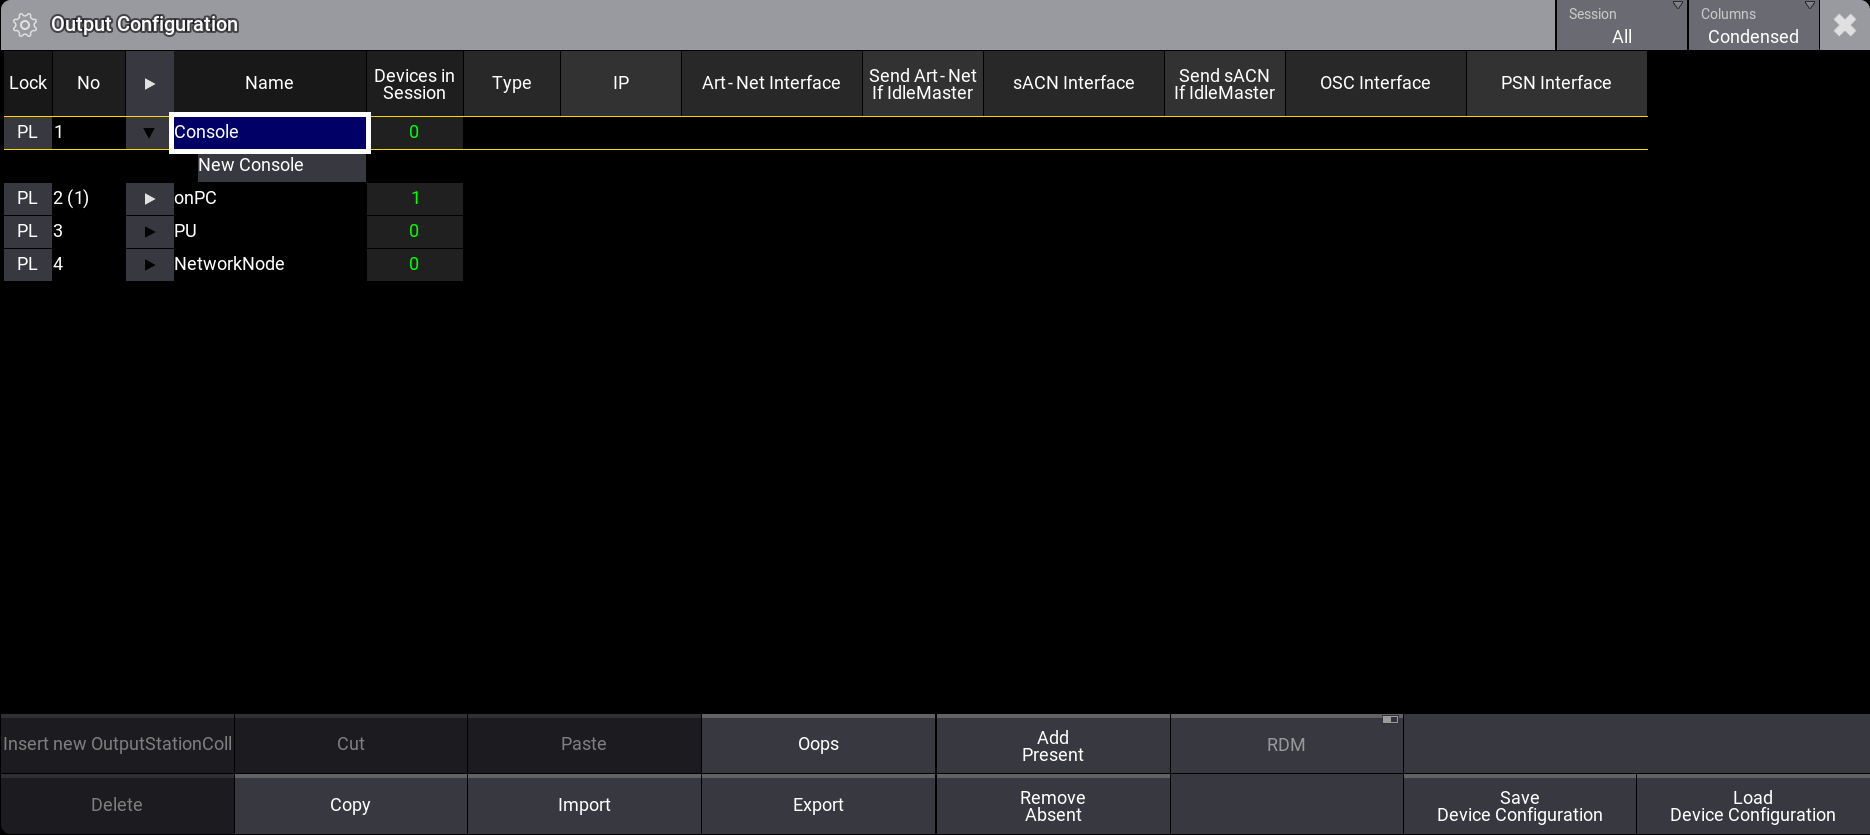
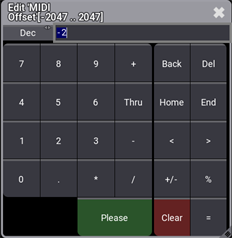
- MIDI Offset に新しい値(例: -2)を設定するには、MIDI Offset を右クリックまたは長押ししてください。Edit MIDI Offset ポップアップが開きます。
- MIDI Offset が調整されます。例えば、MIDI Offset を -2 に設定すると、MIDI Index が 50 から 48 に変わります。

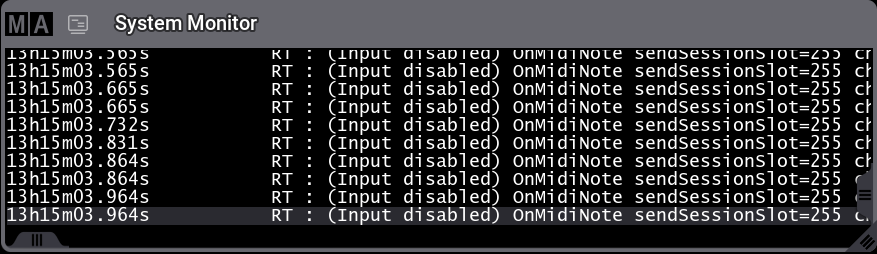
| ヒント | |
| データ入力が無効になっている場合、System Monitor 内で実際のMIDIノートの横にテキストが表示され、ユーザに通知されます。 |
例:
- Data Mode input disabled: Output Configuration で MIDI Data Mode が Out に設定されています。
- Input disabled: In & Out メニューで Enable Input が無効になっています。
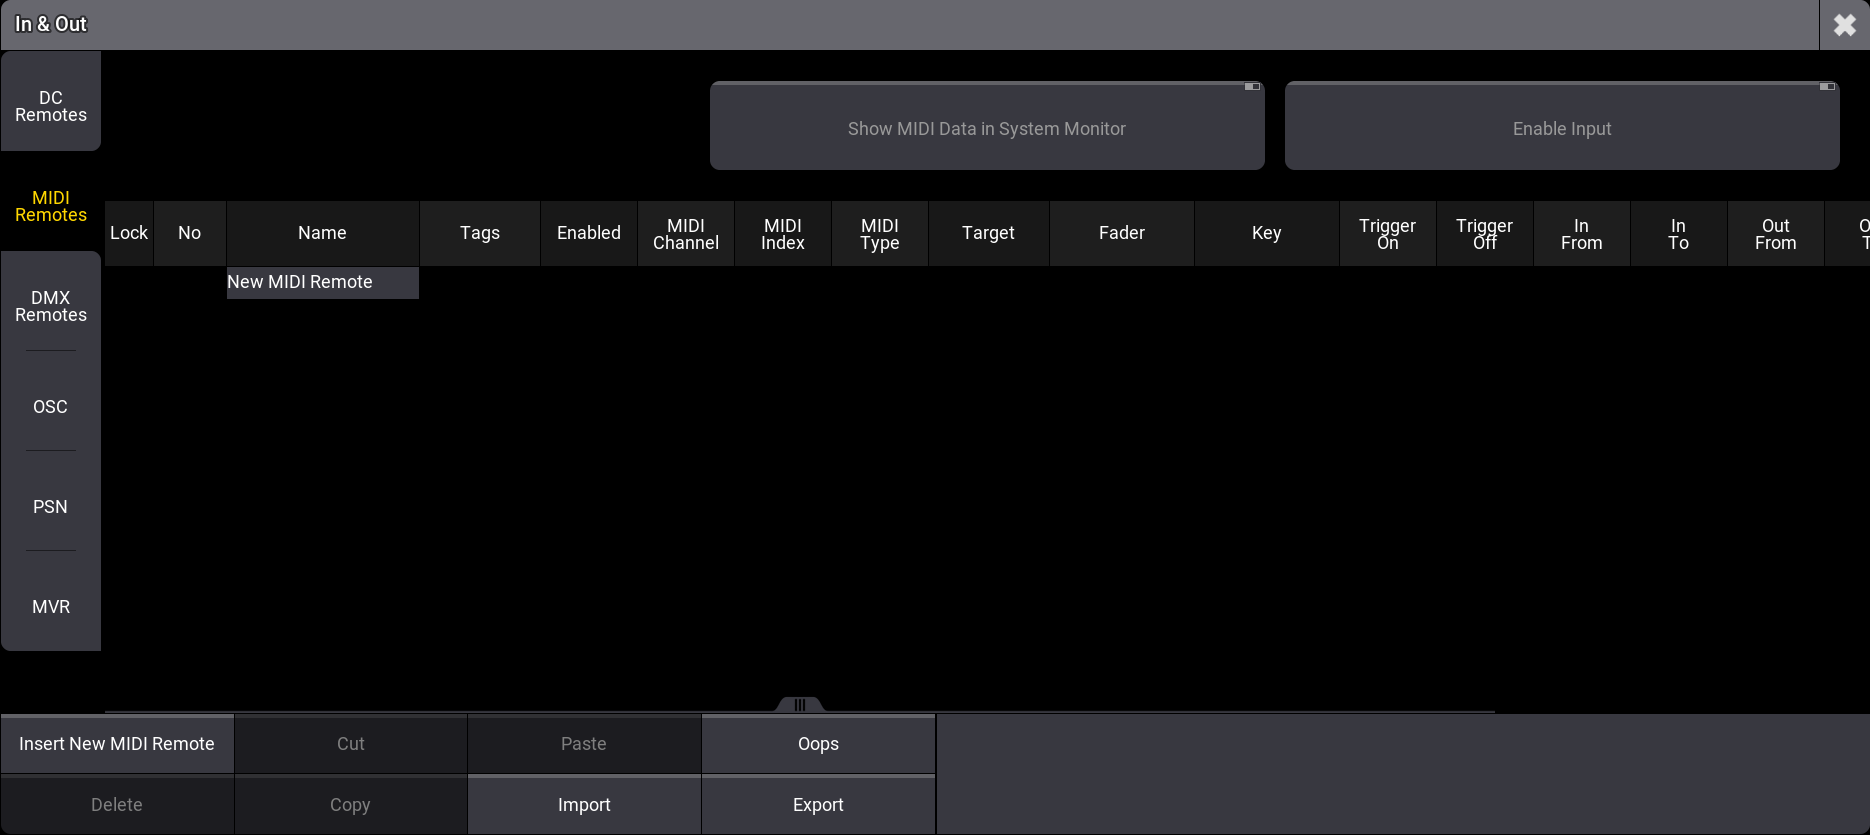
In & Out メニュー
一般的なリモート設定については、リモート入出力 を参照してください。
MIDIリモートの特定のパラメータについては以下の通りです。
- MIDI Channel: 個別に制御できる16のMIDIチャンネルがあります。MIDI受信側は、送信側と同じMIDIチャンネルを使用する必要があります。
- MIDI Index: MIDIインデックス値は、ノート番号またはコントロール・チェンジ番号です(MIDIタイプによって異なります)。MIDI受信側は、送信側と相互に理解するために、同じMIDIインデックス値を使用する必要があります。
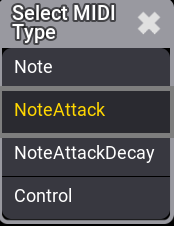
- MIDI Type: 4つのMIDIタイプが選択できます。
- Note: MIDIノートだけが解析されます。
- NoteAttack: MIDIノートに加え、ノートのアタックも解析されます。アタック値が高いほど、フェーダの動きが大きくなります。
- NoteAttackDecay: MIDIノートとともに、MIDIノートのアタックとディケイが使用されます。
- Control: MIDIコントロール・チェンジが使用されます。
例
- MIDI Remotes の設定を調整するには、In & Out ウィンドウに切り替えます。
- In & Out ウィンドウを開くには、Menu を押してから In & Out をタップしてください。
- MIDI Remotes を開くには、MIDI Remotes をタップします。
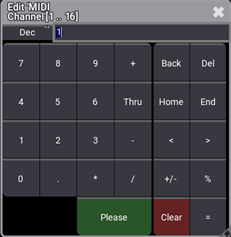
- MIDI Channel に新しい値を設定するには、MIDI Channel を右クリックまたは長押ししてください。Edit MIDI Channel ポップアップが開きます。
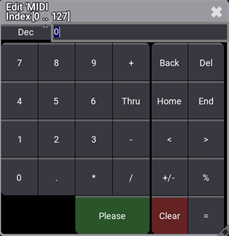
- MIDI Index に新しい値を設定するには、MIDI Index を右クリックまたは長押ししてください。Edit MIDI Index ポップアップが開きます。
- MIDI Type 値を新たに設定するには、MIDI Type を右クリックするか長押しします。ポップアップが開きます。
外部MIDIデバイスの制御
一部の grandMA3 製品では、外部MIDI機器を接続してメッセージを受信できます。ここでは、標準MIDIケーブルを使用できます。
必要条件:
- command wing、I/O node、またはサードパーティ製USBデバイスが接続された grandMA3 卓や grandMA3 onPC ステーション
- MIDI対応デバイス × 1
- 標準MIDIケーブル × 1
- MIDIケーブルを、外部MIDI機器のMIDIデータ出力コネクタ(MIDI Out)と、卓のMIDIデータ入力コネクタ(MIDI In)に接続します。外部MIDIデバイスの電源も必ず入れてください。
- Menu - In & Out - MIDI Remotes を開きます。
- grandMA3 で外部MIDIデバイスのメッセージを表示するには、Show MIDI Data in System Monitor を有効にします。
- grandMA3 卓で外部MIDIデバイスからのMIDI入力を許可するには、Enable Input を有効にしてください。
- 外部MIDIデバイスから受信したMIDIメッセージを卓で確認するには、System Monitor ウィンドウを開き、外部MIDIデバイスのさまざまなハードキー(例えばキー)を押します。MIDIメッセージは、System Monitor で以下のように表示されます。
MIDIメッセージには、いくつかのパラメータを含めることができます。
- channel: 外部デバイスのMIDIチャンネルです。
- pressed: MIDIキーが押されたか(1)、離されたか(0)を示します。
- note: 外部MIDIデバイスのキーにするMIDIノートを表示します。
- velo: 押されたキーの強さを0〜127で間で表示するベロシティです。
- control: コントロール・チェンジのアドレスとその値を表示します。
- offset: MIDIインデックスの変化を表示します。
MIDIの受信
必要条件:
- grandMA3 デモショー・ファイルを開く。
- MIDIメッセージを受信するには、Output Configuration メニューで MIDI Data Mode が In に設定されていることを確認します。
外部MIDIデバイスを grandMA3 卓に接続したら、MIDIリモートを挿入してカスタマイズします。
この例では、外部MIDIキーボードのキーを押してシーケンスを制御します。
- 新しいMIDIリモートを挿入するには、Insert new MIDIRemote をタップします。以下のように、MIDIRemote 1 の行が自動的に追加されます。

- 名前を変更するには、Name 列で MIDIRemote 1 をタップします。"Key 1" と入力するか、仮想キーボードで Enter キーを押すか、または Please キーを押します。
- MIDIキーボードの特定のハードキーを割り当てるには、キーボードのキーを押し、System Monitor ウィンドウに表示される channel と note 情報を用いて、MIDIチャンネルとMIDIインデックスの列を編集します。この例では、MIDI Channel は2、MIDI Index は48に設定されています。
- ベロシティを利用するには、MIDI Type を NoteAttack に設定します。
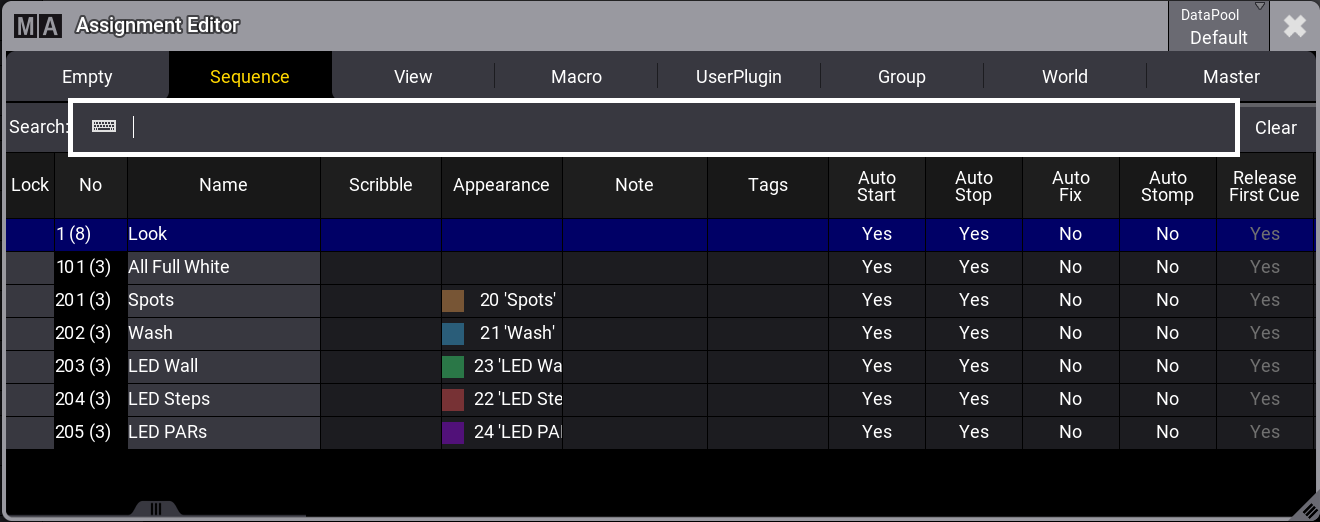
- Assignment Editor を開くには、Target 列の空白セルをタップして編集します。Sequence タブをタップし、下のように Look を選択します。
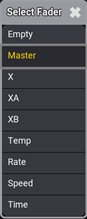
- Select Fader ポップアップを開くには、空の Fader 列を編集します。下のように、Fader を Master に設定します。
- 新しいMIDIリモートが設定され、MIDI Remotes ウィンドウは以下のようになります。

| ヒント | |
| MIDI出力チャンネルは、外部MIDIデバイスで変更できます。 |
| ヒント | |
| 構文を用いてこの例を再現するには、Remote キーワード を参照してください。 |
MIDIの送信
grandMA3 卓から外部MIDIデバイスにMIDIメッセージを送信することもできます。
grandMA3 卓からMIDIメッセージを送信するには、以下のようにします。
- 外部MIDIデバイスのMIDIデータ入力コネクタ(MIDI In)と、卓のMIDIデータ出力コネクタ(MIDI Out)にMIDIケーブルを接続します。
- MIDIメッセージを送信するには、SendMIDI キーワード を用います。
- MIDIメッセージを送信するには、Output Configuration メニューで MIDI Data Mode が Out に設定されていることを確認します。
コマンドラインで指定されたMIDIチャンネル(1〜16)は、MIDIメッセージの送信に使用されます。以下の例では、MIDIチャンネル10、インデックス(ノート)46、ベロシティ99/0が使用されています。

MIDISend コマンドは、以下のルールを適用します。
- コマンドにMIDIチャンネルが指定されている場合、そのMIDIチャンネルが使用されます。MIDIチャンネルが指定されていない場合は、MIDIチャンネル1がになります。
- コマンドにベロシティが入力されている場合、それが使用されます。ベロシティが入力されていない場合は、最大(127)になります。
- コマンドにステータス(オンまたはオフ)が入力されていない場合は、オンになります。
外部MIDIデバイスによっては、以下の例のように、ノートオフ (値=0)メッセージを送信して、ハードキーのリリースを模倣するMIDIメッセージを送信する必要があります。
USB経由のMIDI接続
サードパーティ製の USB MIDIデバイスを用いて、外部デバイスを grandMA3 onPC ソフトウェアに接続することもできます。
| 制限 | |
| 外部MIDIデバイスをUSB経由で接続できるのは、grandMA3 onPC ソフトウェアを使用する場合のみです。 |
必要条件:
- grandMA3 onPC Software × 1
- MIDI対応デバイス × 1
- USBケーブル × 1
外部MIDIデバイスをUSB経由で接続するには、以下のようにします。
- USBケーブルで、外部MIDIデバイスとコンピュータの両方を接続します。
- Menu を押し、Settings で onPC Local Settings をタップします。onPC Local Settings ウィンドウが開きます。
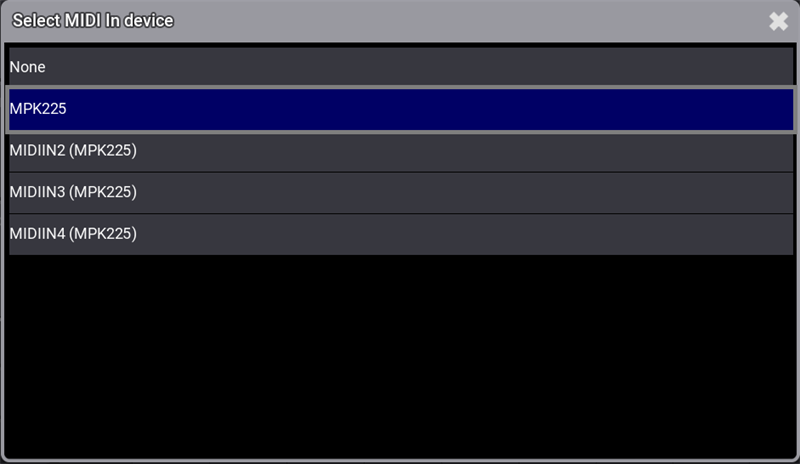
- 外部MIDIデバイスを選択するには、MIDIを受信する場合は MIDI In Device、MIDIを出力する場合は MIDI Out Device をタップします。Select MIDI In device ポップアップが開きます。
- 外部MIDIデバイスを選択します。この例では、以下のように MPK225 です。
- 外部MIDIデバイスが grandMA3 onPC ソフトウェアに接続されます。MIDIリモートを設定するには、Receive MIDI に戻ってください。
| ヒント | |
| grandMA3 onPC 設定については、onPC Local Settings を参照してください |