タイム範囲
|
grandMA3 ユーザマニュアル » タイムコード・ショー » タイム範囲
|
Version 2.2 |
タイム範囲(Time Range)は、トラック内の特定領域をマークするために使用できます。これによって、トラック内でイベントの特定グループを示すことができます。
トラックを作成すると、タイム範囲が自動的に作成されます。この範囲には、タイムコード・ショーの長さが自動的に設定されます。
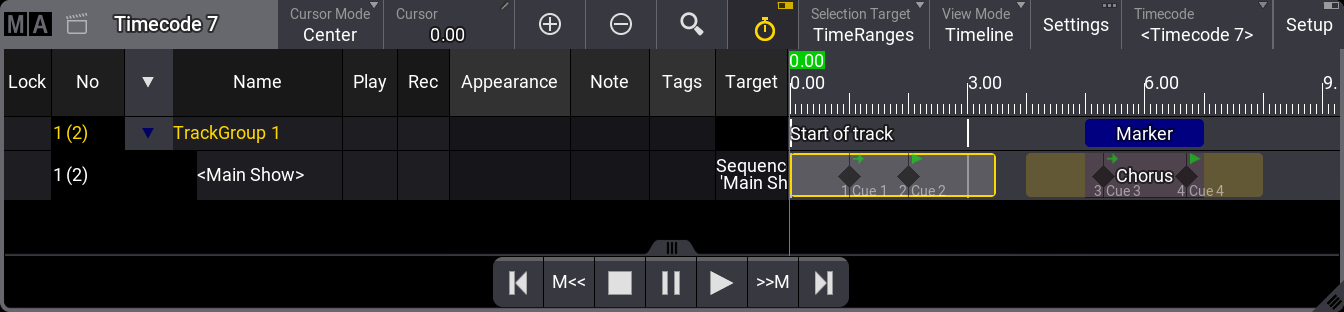
トラックには複数のタイム範囲を設定でき、それらは重複可能です。イベントは、タイム範囲の子です。
これは、繰り返されるイベントのグループがある場合に便利です。イベントをそれぞれ独自のタイム範囲に保存し、この範囲を複数の場所にコピーできます。イベントの Time 値は、タイム範囲の開始点を基準としています。タイム範囲を移動すると、イベントの計算された Absolute Time (Event Time + Time Range Start)は変更されますが、Time は変更されません。
Selection Target が TimeRanges に設定されている場合は、+ をタップしてからトラックをタップすることで、トラックにタイム範囲を追加できます。トラックをタップしてドラッグすると、ドラッグした範囲に基づいてタイム範囲と長さが追加されます。
移動ツール(![]() )を用いて、タイム範囲の開始タイムを移動できます。
)を用いて、タイム範囲の開始タイムを移動できます。
サイズ変更ツール(![]() )を用いて、タイム範囲の長さを調整できます。
)を用いて、タイム範囲の長さを調整できます。
左側ツールバーのツールを用いて、タイム範囲をコピーまたは切り取ってトラックに貼り付けることができます。
Delete を押すか、- をタップしてタイム範囲を削除すると、タイム範囲内のイベントも削除されます。
タイム範囲にはラベルを付けられます。Timeline ビューには、トラックとサブトラックの名前とアピアランスが表示されます。ノートやタグは、テキストビューでのみ表示されます。詳しくは Timecode Viewer を参照してください。