Layout View の編集
| grandMA3 ユーザマニュアル » レイアウト » Layout View の編集 | Version 2.2 |
Layout View を開くには、ウィンドウの追加 の指示に従ってください。
Add Window ポップアップで、以下のように行います。
- Tools をタップします。
- Layout Viewer をタップしてください。
Layout View が開きます。
|
|
重要 |
| Setup を有効にすると、個々のレイアウト要素を編集できます。無効にすると、プログラマと同じように編集できます。 |
レイアウト要素の追加
Layout Viewer ウィンドウのタイトルバーにある Setup をタップすると、Setup モードが有効になります。ツールバーは、ウィンドウの左側に表示されます。
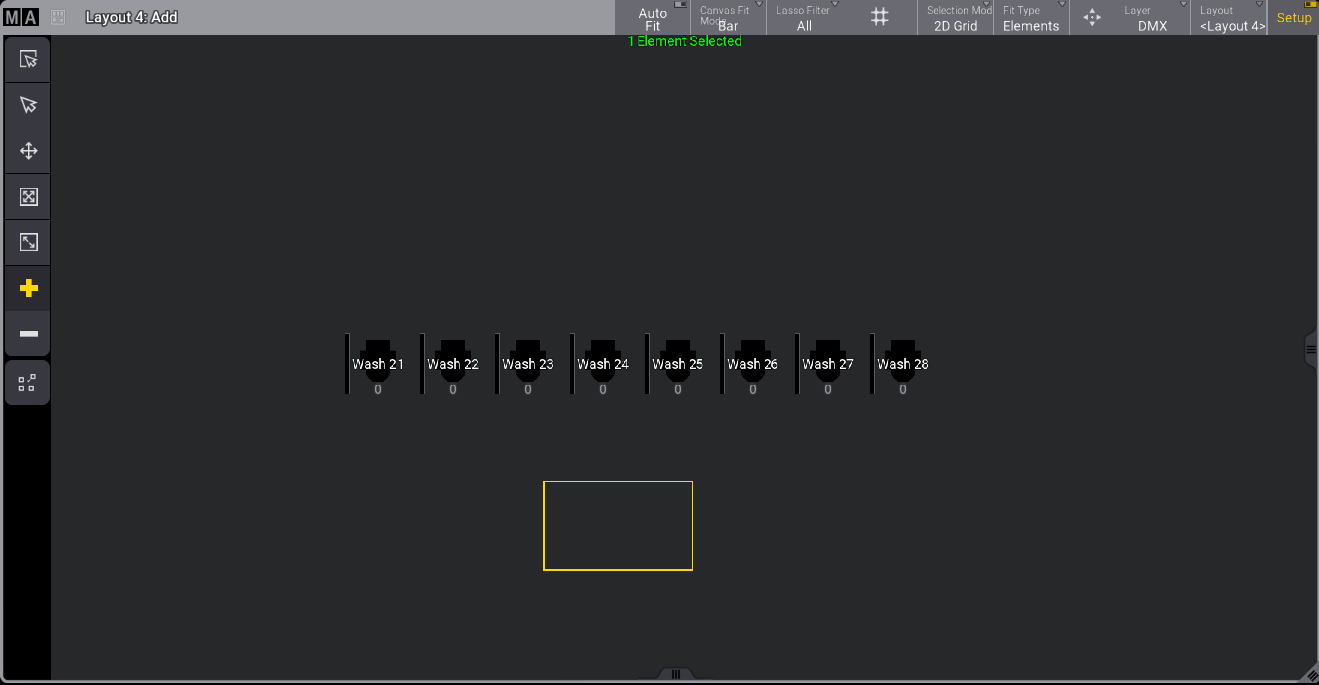
- Layout ウィンドウにレイアウト要素を追加するには、+ をタップします。
- ウィンドウの空き領域をタップするかそれをドラッグすると、新しい空のレイアウト要素が追加されます(空の黄色い四角)。
- 作成した要素に機能/オブジェクトを割り当てるには、ツールバーの
 をタップしてから2本指編集(タッチ操作 を参照)でその新しい要素をタップするか、Edit を押してからそれをタップします。
Edit Layout Element ポップアップが開きます。
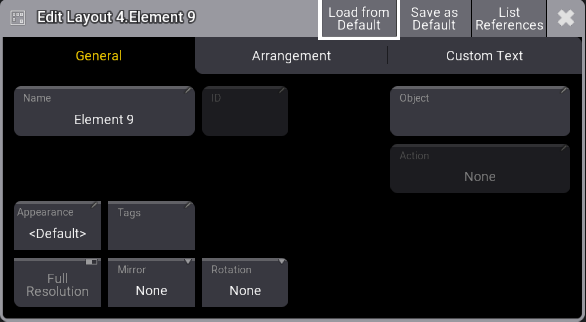
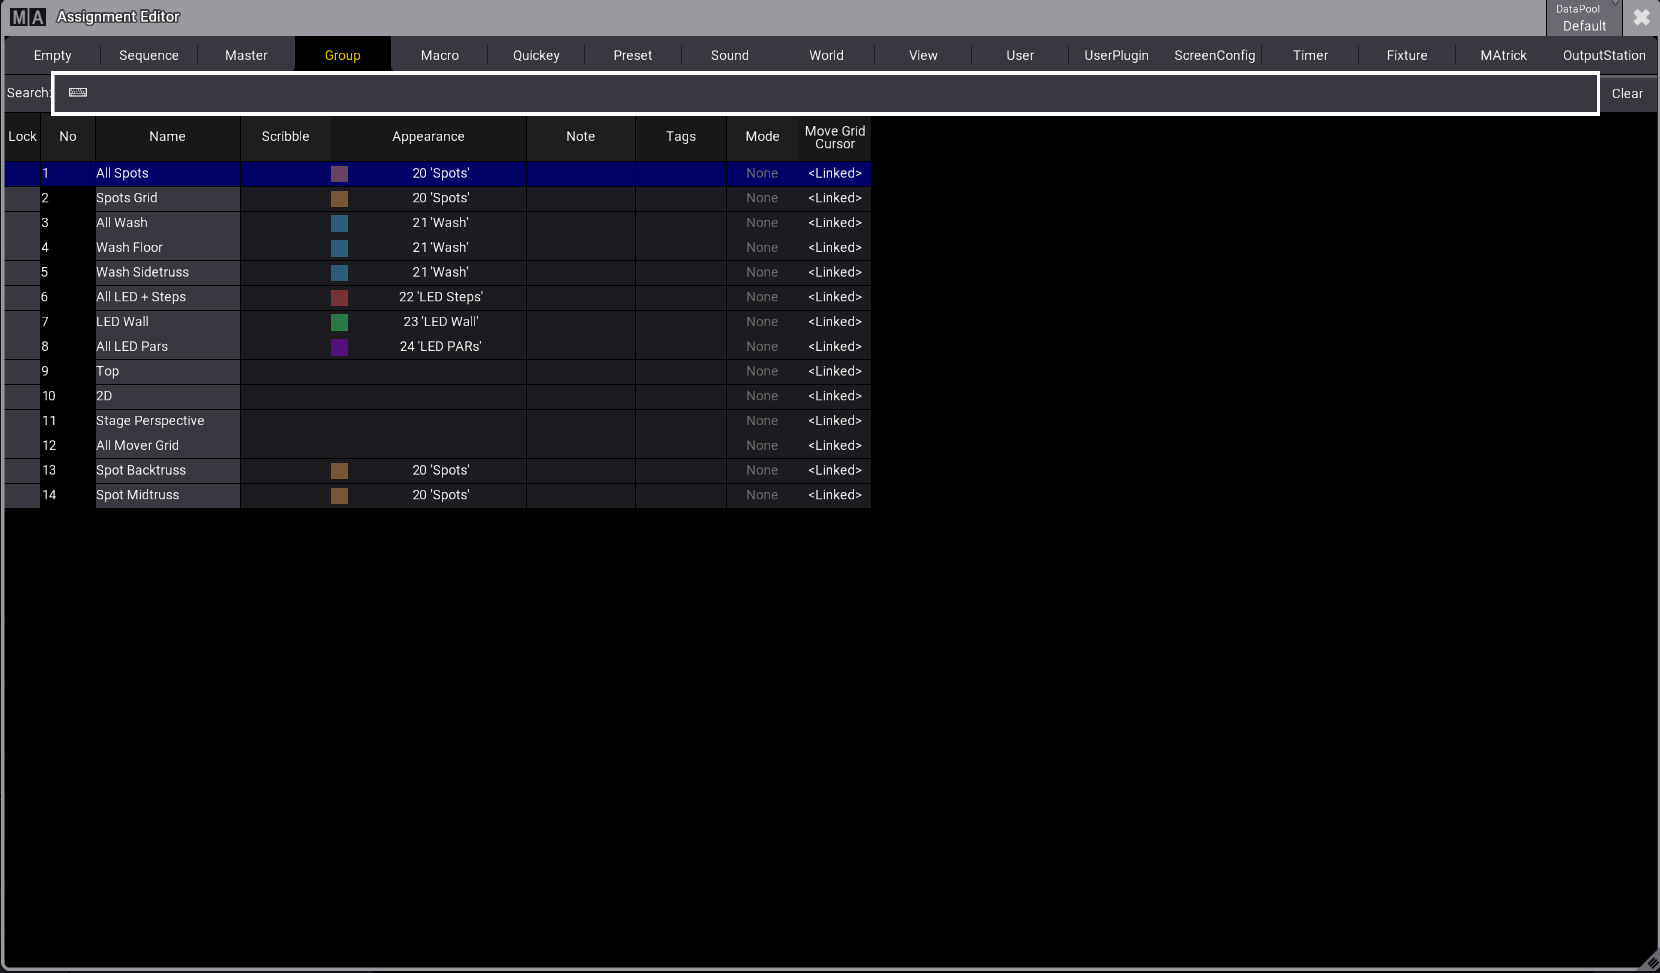
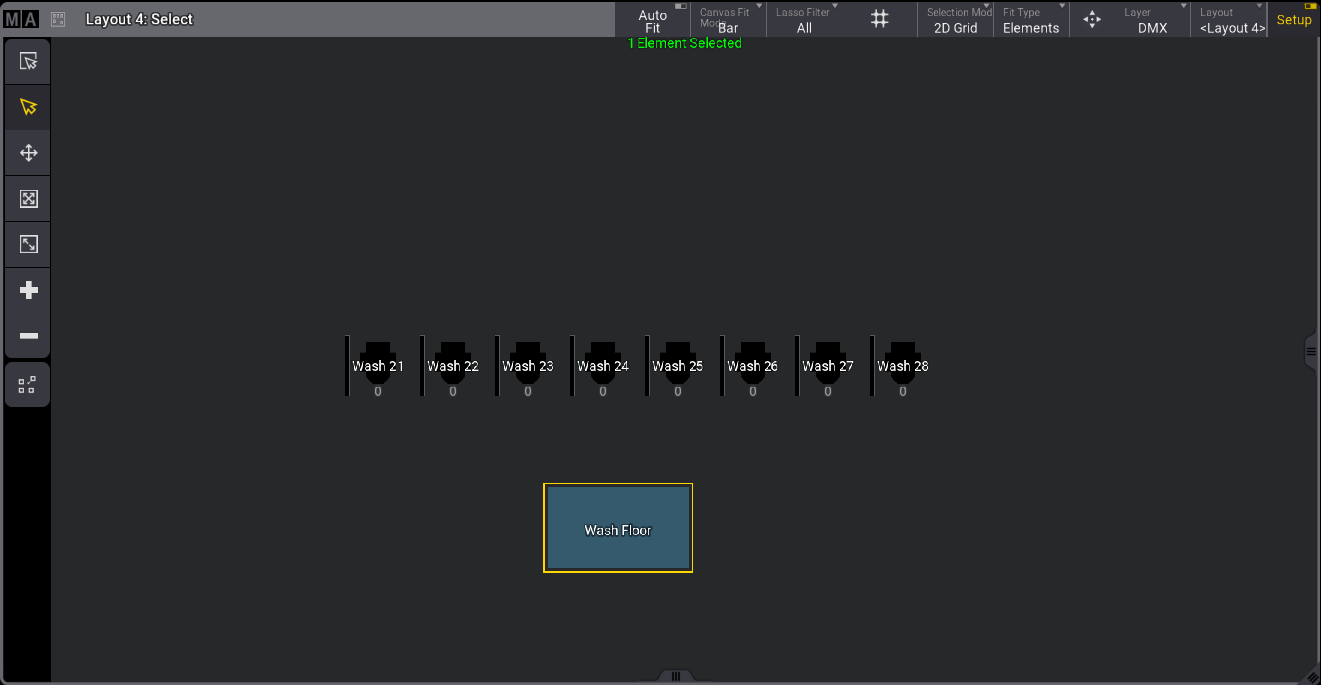
- General タブで Object をタップすると、Assignment Editor が開きます。
- 新しい要素に割り当てたいオブジェクトを選択してください。
GUIによる要素の追加
追加したい Group プールと Layout Viewer が、画面に表示されている必要があります。
例えば、グループ1をレイアウト1に追加するには、以下のようにします。
- Assign を押します。
- Group プールでグループ1をタップします。
- Layout ウィンドウで、空いている場所をタップしてください。
|
|
ヒント |
| これは、Setup モードと Normal モードで行えます。 |
コマンドラインによる要素の追加
例えば、マクロ1をレイアウト1に割り当てるには、以下のようします。
|
|
User name[Fixture]>Assign Macro 1 At Layout 1 |
Layout Toolbar
ツールバーを用いて要素を編集します。詳しくは レイアウトの作成 を参照してください。